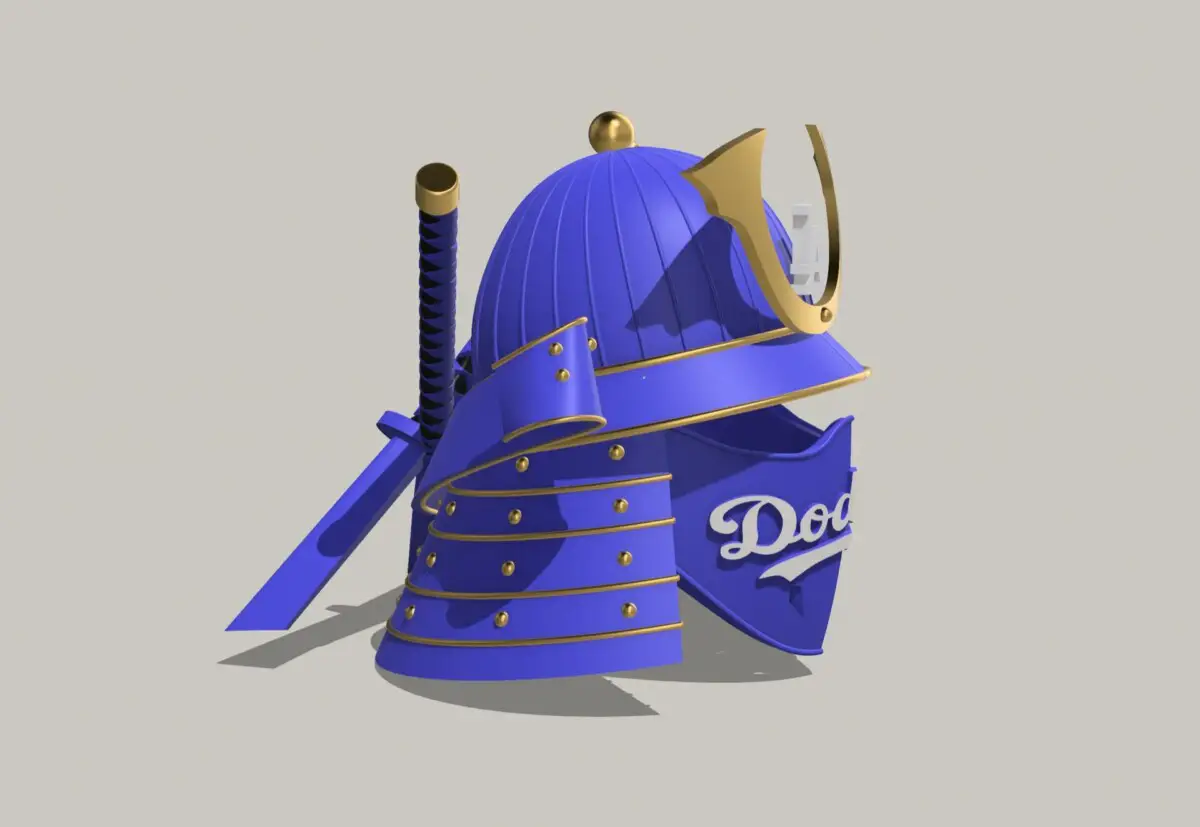
DIY Samurai Dodgers Helmet: Build Yours for Under $100
Most people can’t afford a $3,000 Samurai Helmet, so we just found a way for the average fan to make their own for just under $100. If you know someone with a 3D printer, then this could be a fun craft project for you and your family.
Credit to the Designer: This incredible design was created by Rome626, a talented 3D modeler who generously shared their work with the community. Be sure to check out their other designs and support their work!
Step 1: Download the 3D Print Files
To get started, you’ll need the Samurai Helmet STL files, which are available for free on MakerWorld. Download the files here and save them to your computer.
What You Need:
- A 3D printer (or access to a local makerspace)
- PLA filament (recommended colors: blue, white, or black for Dodgers theme)
- Sandpaper (for smoothing)
- Paint and primer (optional for pro-level finishing)
- Glue or fasteners for assembly
Step 2: 3D Printing the Samurai Helmet
If you have a 3D printer, you can print the helmet parts at home. For those without a printer, there are several affordable 3D printing services available:
- Local Makerspaces – Many libraries and community centers have 3D printers available for public use.
- Online Services – Websites like Shapeways, PrintAThing, and Craftcloud allow you to upload your file and have it printed and shipped to you.
- Local 3D Print Shops – Check platforms like Etsy or Facebook Marketplace for local print services.
Printer Settings:
- Layer Height: 0.2mm (for fine detail)
- Infill: 15-20% (for balance between durability and weight)
- Supports: Required for certain overhangs
- Print Time: Varies depending on your printer, but expect 15-25 hours in total
Step 3: Assembly & Finishing Touches
Once all the parts are printed, it’s time to assemble your samurai helmet. Use super glue or 3D print welding (by slightly melting edges with a soldering iron) for a solid bond.
Smoothing & Painting:
- Sand the prints with 220-grit sandpaper to remove layer lines.
- Apply a primer coat (spray primer works best).
- Use Dodgers blue spray paint for the main helmet.
- Paint accents in white and silver for a sharp, detailed look.
- Optionally, add a Dodgers logo decal for authenticity.
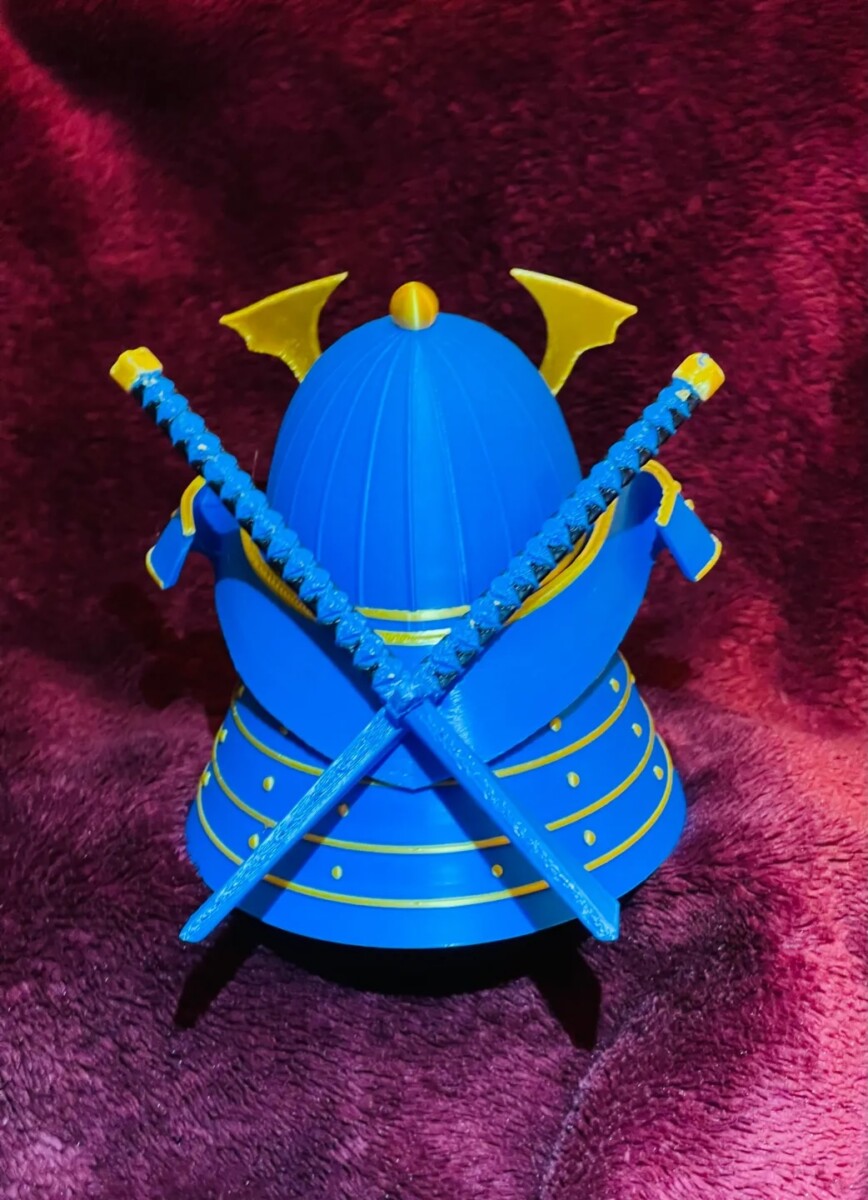
Step 4: Add Custom Dodgers Flair
Personalize your samurai helmet to make it unique:
- Add a fabric chin strap for comfort.
- Attach LED lights for a futuristic touch.
- Use Dodgers stickers or decals to make it official.
Total Cost Breakdown
| Item | Estimated Cost |
|---|---|
| PLA Filament (1kg) | $20-25 |
| 3D Print Service (if needed) | $30-50 |
| Spray Paint & Primer | $15-20 |
| Glue & Sandpaper | $10 |
| Decals & Custom Add-ons | $5-15 |
| Total Estimated Cost | $50-$100 |
Why This Project is a Home Run for Dodgers Fans
- Unique & Customizable – No one else will have a helmet like yours.
- Affordable – Way cheaper than premium collectibles.
- DIY Fun – A great project for creative fans and makers.
- Conversation Starter – Stand out at games, parties, and fan events.
Huge Thanks to Rome626!
A massive shoutout to Rome626, the talented designer behind this amazing Samurai Dodgers Helmet. Without their creativity and generosity, this project wouldn’t be possible. Be sure to check out their other 3D models on MakerWorld and show them some love!
Ready to build yours? Download the files and start printing today! Make sure to go check out our new Discord Channel to talk with other Dodger fans about this helmet!